Spring Cupcakes

Spring!

Happy Spring!

I was inspired to make these cupcakes from others I had seen on Pinterest, but the nests usually consisted of dyed coconut (icky!) or sprinkles. I love sprinkles, but a mouth full of sprinkles doesn’t seem that appealing. So, I thought about other ways I could make a “nest” and realized shaved chocolate pieces would be perfect! Who doesn’t love a mouth full of more chocolate? 😀 I also got to use my FAVORITE chocolate sour cream frosting! (The sour cream adds a really rich flavor to the frosting!)

Spring Cupcakes: 

1 box yellow cake mix (get a moist type with pudding added)

(Vegetable oil & Eggs per the box directions)

Chocolate almond bark (for nest-only need a small amount)

Whopper’s Mini Robin Eggs (or another small egg shaped candy)

Make the cake mix according to the box directions. Tip: Follow the box directions that say to beat the mixture on medium speed for 2 minutes-this ensures all is well mixed and it incorporates air into the batter to make the cupcakes nice and fluffy. Bake per the package directions, use a toothpick to test the cupcakes to ensure they are done. The toothpick should come out “clean” with no wet batter or crumbs on it; if it is wet bake a little longer & test again. Let the cupcakes cool.

Use a vegetable peeler to grate the chocolate almond bark into little chocolate rolls/pieces. These will be the nest.

Chocolate Sour Cream Frosting: 

1-1/2 cups semisweet chocolate chips

3 Tablespoons butter

1/2 cup sour cream

1 teaspoon vanilla

3-1/2 cups powdered sugar

Melt the chocolate chips and butter together in a bowl in the microwave, stirring every 30 seconds. Let it cool a couple minutes and transfer to a large mixing bowl & add the sour cream & vanilla. Mix together. Add the powdered sugar, 1 cup at a time, mixing thoroughly with a whisk attachment to insure it is lump free. *This frosting recipe is from a cookbook entitled “Chocolate”on page 19.

Thin a third of the frosting with about 1/2 teaspoon of milk to make it easier to spread. Put the other two thirds of the frosting into a piping bag with a decorating tip. Once the cupcakes have cooled, frost the cupcakes with a thin layer of the chocolate frosting & pipe a circle onto each cupcakes. While the frosting is still moist, roll the edges of the frosting in the chocolate almond bark shavings. Finally, add three (different colored) Whopper Robin eggs (or other small egg shaped candy) into the center.

Follow the directions on the box. Tip: Set a timer for 2 minutes and mix on medium speed. This helps to really make sure all of the ingredients are mixed together and it incorporates air into the batter which makes it light and fluffy.

Follow the directions on the box. Tip: Per the directions on a box-Set a timer for 2 minutes and mix on medium speed. This helps to really make sure all of the ingredients are mixed together and it incorporates air into the batter which makes it light and fluffy.

See the nice air bubbles in there.

See the nice air bubbles in there. That will make the cupcakes nice and fluffy.

Fill the batter 3/4 full. I used my large Pampered Chef scoop to spoon in the batter.

Fill the cupcake liners 3/4 full of batter. I used my large Pampered Chef scoop to spoon in the batter.

Bake per the directions on the box, using a toothpick to test for doneness. Note: Cupcakes can become dry very quickly, so try to catch them right at the point when they are done so they will stay moist. It can be difficult to tell when cupcakes are done because the bottom and sides of cupcakes can cook more quickly, and burn before the top shows much color. So, set the timer to the lowest cooking window and keep an eye on them, testing with a toothpick.

Grate the chocolate bar. I used chocolate almond bark as it has a bit more wax in it, ,so it will hold its shape better when on the cupcake.

Grate the chocolate almond bark. I used chocolate almond bark as it has a bit more wax in it than a regular chocolate bar, so it will hold its shape better when on the cupcake.

Chocolate shavings ready to be the nest.

Chocolate shavings ready to be the nest.

The cupcakes are cooling. Notice the awesome floral cupcake liners! ;)

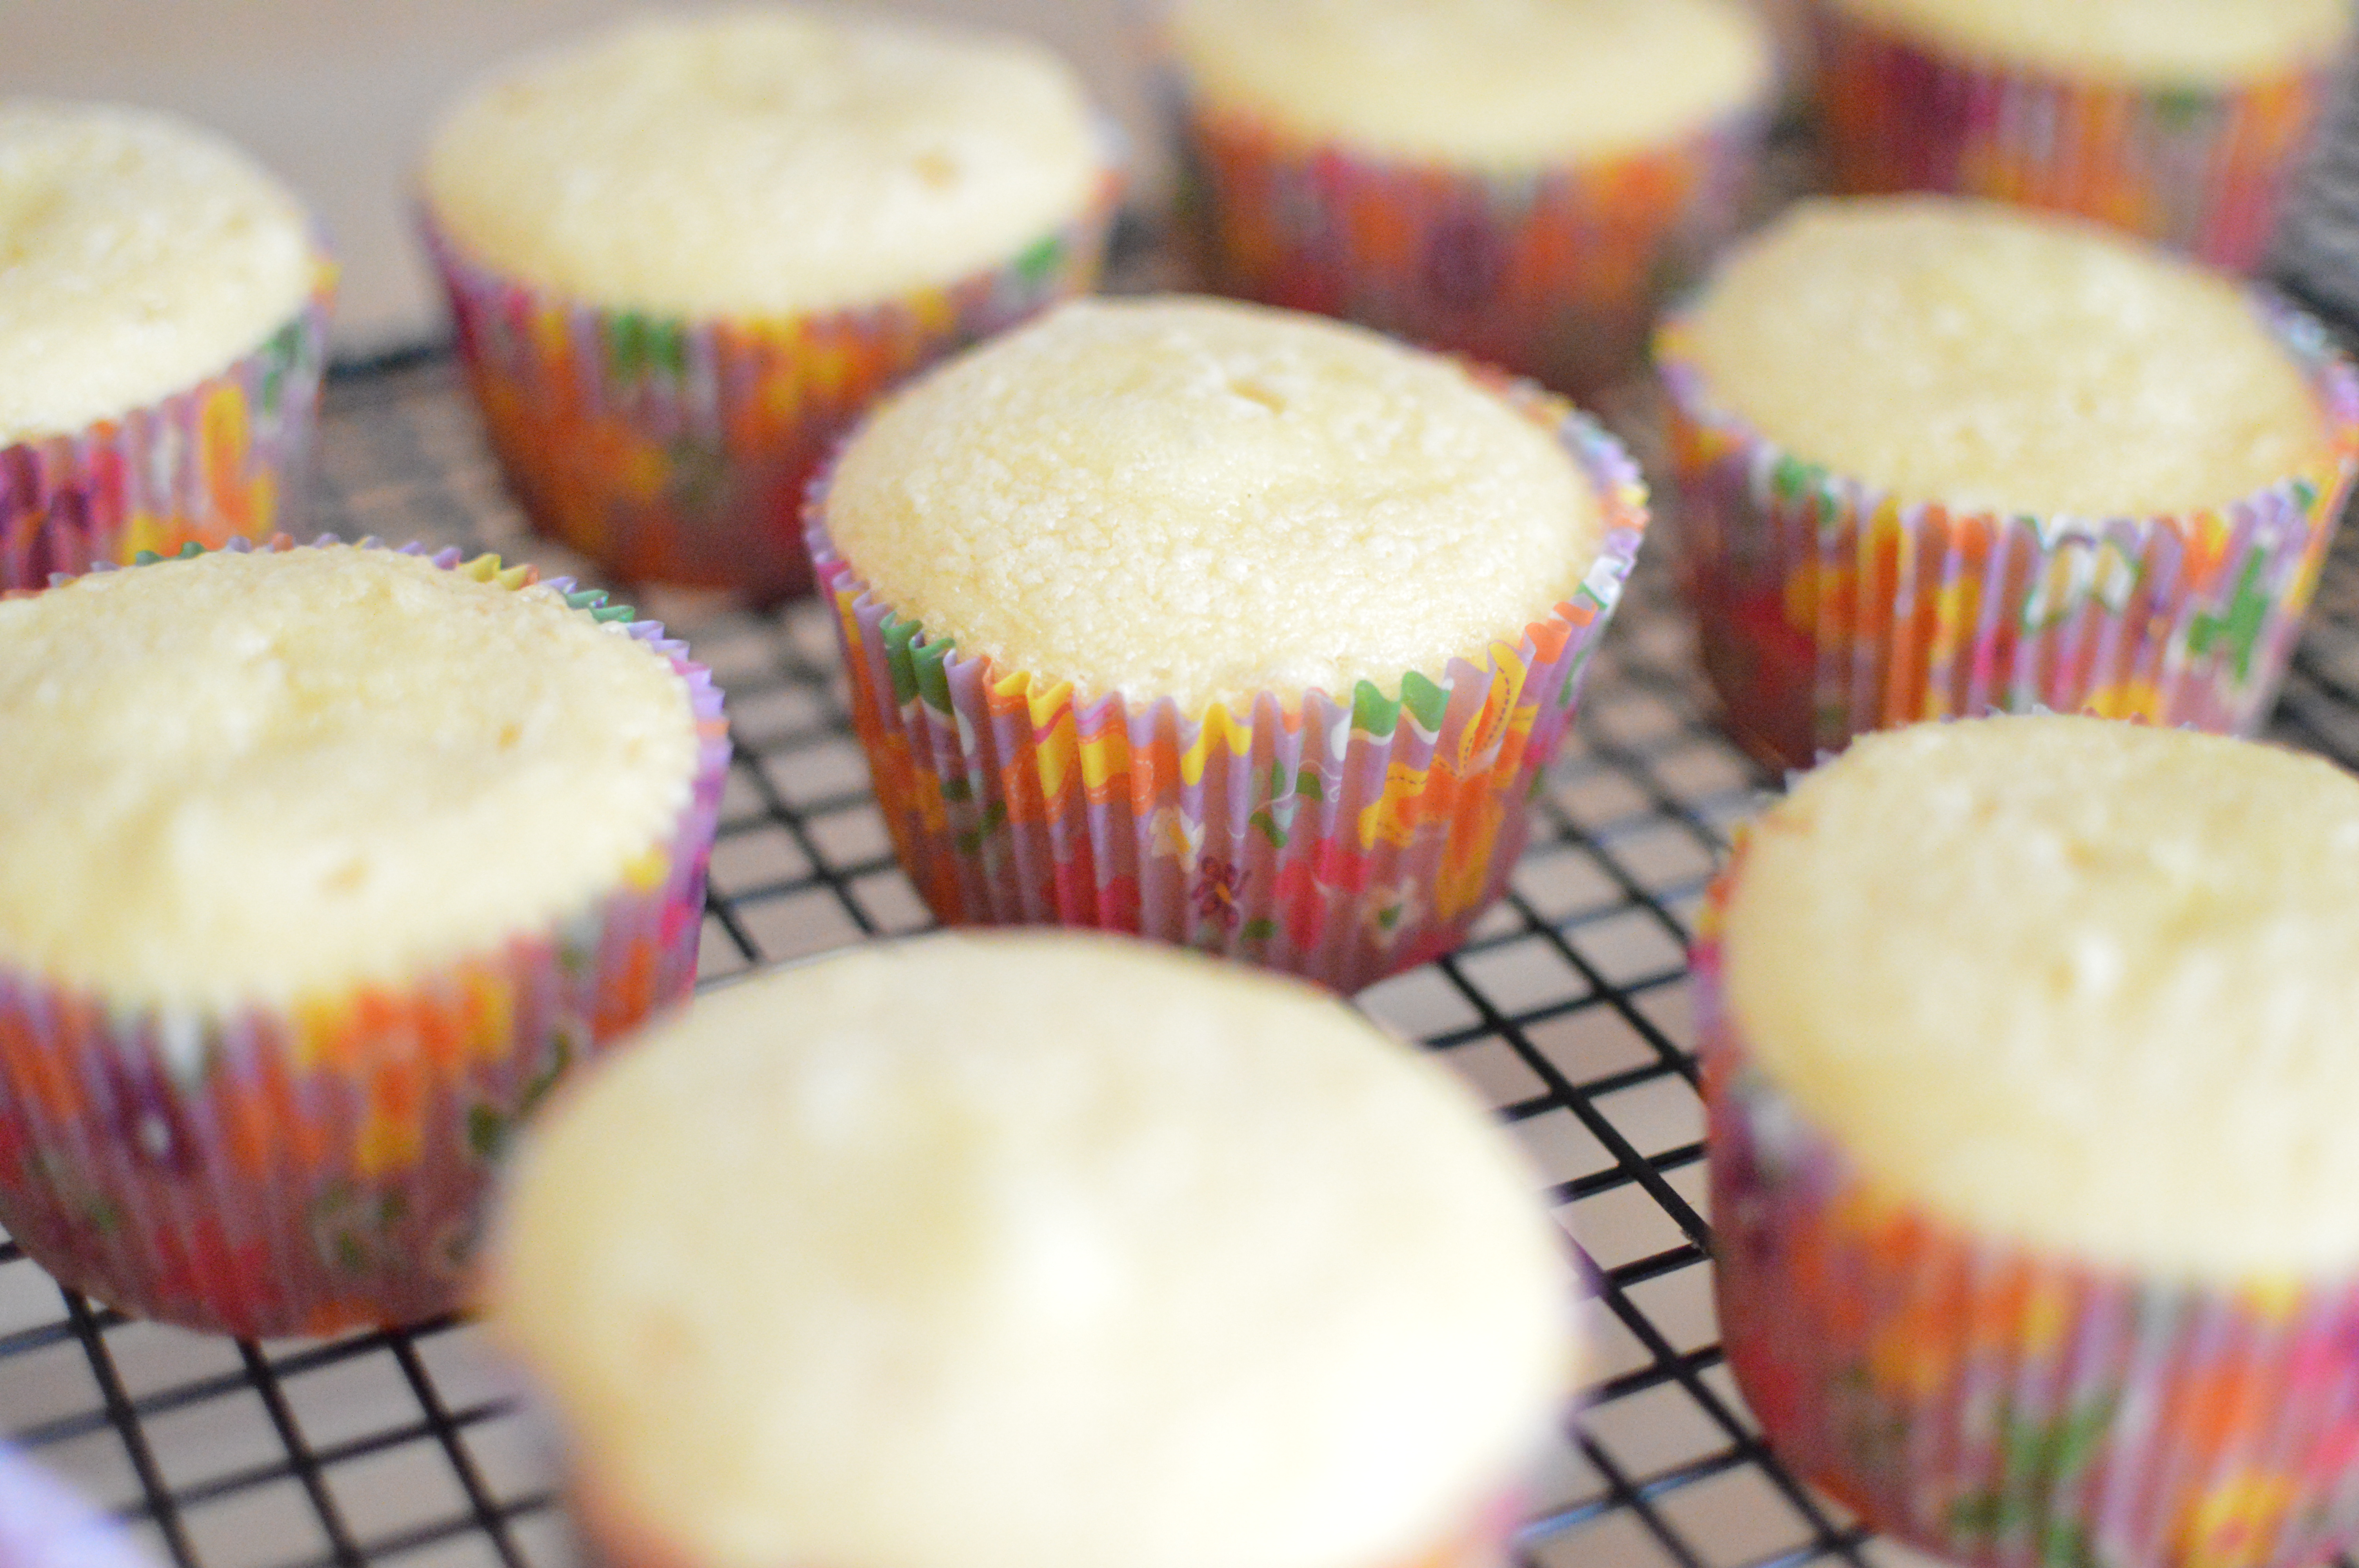
The cupcakes are cooling. Notice the awesome floral cupcake liners! 😉

Let the cupcakes cool completely after baking. While they are chilling on a cooling rack, make the frosting!

The best part! Making the frosting! :) Melt the chocolate chips and butter in the microwave, stirring every 30 seconds.

The best part! Making the frosting! 🙂 Melt the chocolate chips and butter in the microwave, stirring every 30 seconds.

Its important to stir the melting mixture every 30 seconds because chocolate tends to hold its shape, so it doesn’t look like it is melting, when it actually is melting, usually on the bottom and the sides. Also, the butter will melt more quickly than the chocolate, so its good to stir to get that incorporated. The melted butter will tend to make the chocolate seize up a bit, this is normal. As long as you are stirring it every 30 seconds, and it doesn’t smell burnt it is fine. (The first time I ever made it, I thought I burned it, so I threw it out-turns out I didn’t, that’s just the way it looks)

It should look like this when it is ready.

It should look like this when it is ready. Transfer to the mixing bowl.

Add sour cream to the chocolate/butter mixture.

Add sour cream to the chocolate/butter mixture.

Add the vanilla.

Add the vanilla.

Mix together.

Mix together using a whisk attachment to thoroughly mix the ingredients.

Add the powdered sugar, mixing 1 cup of powdered sugar at a time.

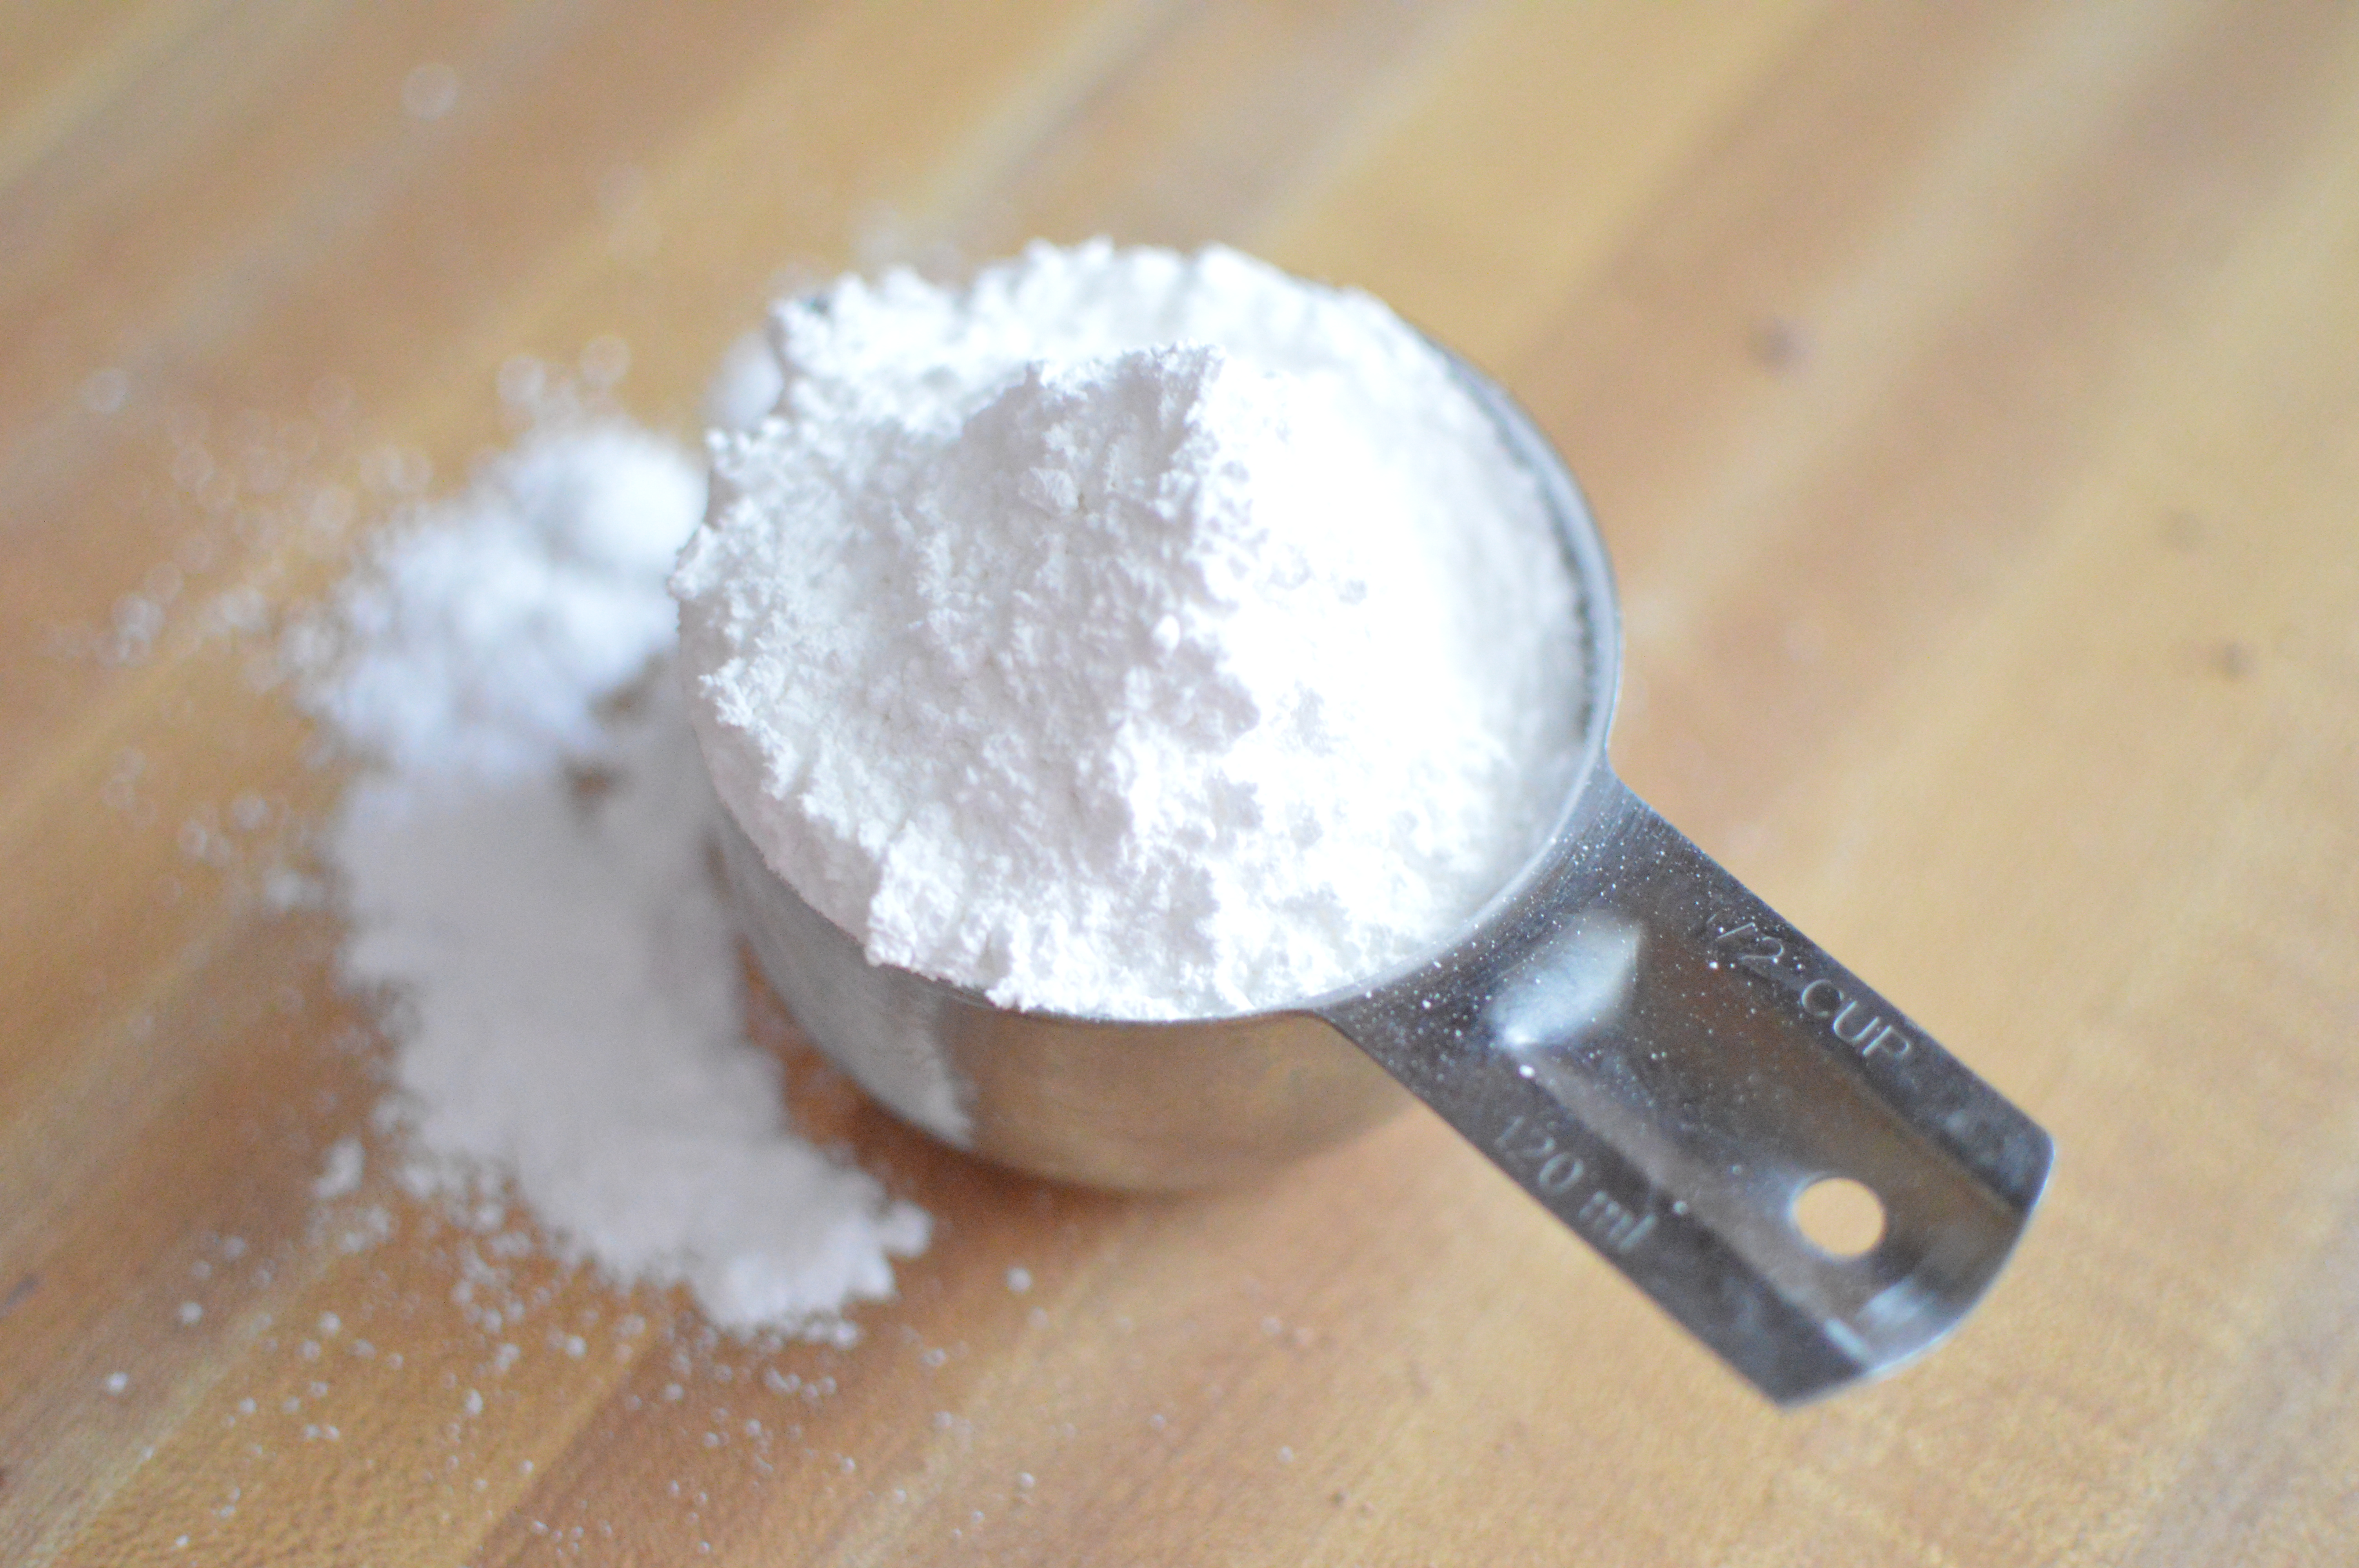
Add the powdered sugar, mixing 1 cup of powdered sugar at a time. This helps ensure it has a creamy consistency that is lump free.

Almost ready. Add all of the powdered sugar required, it  mellows out the sour cream flavor and really adds a nice richness to the frosting.

Almost ready. Add all of the powdered sugar required, it mellows out the sour cream flavor and really adds a nice richness to the frosting.

Once the frosting is ready…

Prepare a piping bag with a decorating tip. I used Wilton 1M decorating tip. Then put the bag inside a tall cup, and fold down part of the bag around the cup to keep it propped open. Spoon in the frosting with the spatula.

Prepare a piping bag with a decorating tip. I used a Wilton 1M decorating tip. Then put the bag inside a tall cup, and fold down part of the bag around the cup to keep it propped open. Spoon in the frosting with the spatula.

Add 1/2 teaspoon of milk to the remaining frosting in the bowl to thin it a bit to make it easier to spread on the cupcakes. It doesn't have to be perfect because it is just the base and the eggs and nest will go on top of it.

Add 1/2 teaspoon of milk to the remaining frosting in the mixing bowl to thin it to make it a bit easier to spread on the cupcakes. It doesn’t have to be perfect because it is just the base and the eggs and nest will go on top of it.

Pipe a circle with the frosting in the decorating bag.

Pipe a circle  using a frosting “Shell border” technique with the frosting in the decorating bag.

After piping the nest, while the frosting is still moist roll the edges in the shaved chocolate.

After piping the nest, while the frosting is still moist, roll the edges in the shaved chocolate to create the nest.

DSC_0994

Cupcake decorating station.

DSC_0029

DSC_0003e

Cupcake prepared: 4 WW Points (20 cupcakes), Chocolate Sour Cream Frosting: 5 points per cupcake; Total=9 WW Points per cupcake

Mint Chocolate Chip Cookies

In honor of March, (and because my cookie dough stock pile ran out in the freezer) I decided to make some Grinch Cookies Mint Chocolate Chip Cookies! 🙂 And this time I took pictures during the process of making the dough & documented how I save the cookie dough in the freezer to have fresh baked homemade cookies whenever I want!

DSC_0181

Mint Chocolate Chip Cookies:

2/3 cup shortening

2/3 cup butter

1 cup white sugar

1 cup brown sugar (packed)

2 eggs

1 teaspoon vanilla extract

3 cups flour

1 teaspoon soda

1 teaspoon salt

Green food coloring (I used Wilton Kelly Green paste)-just enough to give it a pretty mint color, but not enough to make it look like toothpaste

1 & 1/4 teaspoons mint extract

1-12 oz bag chocolate chips or more! 🙂

Cream the shortening, butter, and both sugars. Then add the eggs, and vanilla. Add remaining ingredients. When dough is complete, minus the chocolate chips, add your green food coloring so that you are able to fully see what the color will be since the flour is already added. This is also a good time to add the mint extract as all the other ingredients are already included, so you can get a good sense of the flavor. (Although I know I like the 1 & 1/4 teaspoon amount, so I add the mint extract when I add the vanilla) Mix in your chocolate chips. Drop by teaspoon full onto greased cookie sheets. I like to use my regular Pampered Chef cookie scoops to make the perfect sized cookies and to keep the dough off my fingers, so I am less likely to be tempted to eat some. Bake at 375 degrees F for 10-12 minutes. (Usually a full 9:30 to 10 minutes)

4 WW Points each

I use my hot pink “Raspberry Ice Artisan Deigner Series” Kitchenaid mixer to make this and everything!!! It makes the process so much easier. This stand mixer was a Christmas present from my parents a couple years ago and I LOVE IT!!! Best Christmas Present Ever!

Cream the butter, shortening, sugar, & packed brown sugar until smooth (no lumps of anything).

Cream the butter, shortening, sugar, & packed brown sugar until smooth (no lumps of anything).

Creaming the first four ingredients.

Creaming the first four ingredients.

Should look like this when done creaming.

Should look like this when done creaming.

Add the two eggs, cracking each separately into a small bowl to ensure no shells get into the dough.

Add the two eggs, cracking each separately into a small bowl to ensure no shells get into the dough.

Just a side note: if you do happen to get an egg shell in your small dish, or your batter for that matter, use a large piece of the egg shell to carefully scoop it out of the dish. Nothing else works as well!

Add 1 teaspoon of vanilla and 1 & 1/4 teaspoons of mint extract.

Add 1 teaspoon of vanilla and 1 & 1/4 teaspoons of mint extract.

Mix together, remembering to scrape down the sides & bottom of the bowl so everything gets mixed in completely.

Mix together, remembering to scrape down the sides & bottom of the bowl so everything gets mixed in completely.

Add 3 cups All Purpose flour.

Add 3 cups All Purpose flour with the salt and baking soda. I try to sprinkle around the salt and the baking soda over the flour, this helps to ensure it gets mixed in evenly and you don’t get baking soda clumps-there is nothing worse than that! (Trust me-Dad has made us pancakes before! 😉 )

Note: If you have a smaller bowl, add your flour 1 cup at a time, mixing on low speed in between.

Add our green food coloring at this point.

Add the green food coloring at this point.

I add the food coloring during this step so that you can get a true sense for what the color looks like, because the white flour dilutes the color a bit. I used Wilton paste food coloring in the color “Kelly Green”. I like to use a knife to scoop out a little dye, then I slide it off on the beater of the mixer and let the mixer do its thing! If I want to add more dye, I use a new clean knife to dip into the dye and scoop out a little more and do the same thing. *Remember you can always add dye, you just can’t take it out, so add small amounts of dye at a time. Also, word from the wise, be sure to put the knife that has dye on it straight into the sink after you have spread it on the beater, otherwise it can temporarily stain your counter, get on you, etc.

My favorite part! Add the Semi-sweet chocolate chips.

My favorite part! Add the Semi-sweet chocolate chips.

I added about 2 cups of Semi-sweet chocolate chips because I used a whole bag and then I had about a half a cup left from another bag.

Mix it all together.

Mix it all together.

I love desserts & I love to bake! However, every time I make desserts, I then can tend to overindulge on the yumminess I just made. After eating too many cookies on a Saturday morning, I would be left feeling guilty and lethargic. To prevent this, a really helpful trick I learned on Pinterest is to lay out some wax paper on the counter on top of a small pan or large lid (anything that helps make it more portable). After making the dough, drop by teaspoon full onto the wax paper, then put it in the freezer for a few minutes so the scoops of dough set-then put them in a large freezer Ziploc bag & store in the freezer. This way you can have homemade fresh-baked chocolate chip cookies whenever you like!

Next I take a small pan and line it with wax paper. Then I use my regular Pampered Chef scoop to scoop out a bunch of cookies onto the tray.

After the dough is made, I take a small pan and line it with wax paper. Then I use my regular Pampered Chef scoop to scoop out a bunch of cookies onto the tray.

DSC_0866

Then I put the tray in the freezer for a few minutes to let the scoops of dough solidify a bit so that they can be stored together in large Ziploc bags without combining into a Monster cookie! While that is in the freezer, I prepare my large freezer Ziploc bags. I use a permanent marker to write the name of the cookie, the temperature to bake it at (375) and the date. I also write 4 WW points on the bag to remind me, in case I feel like going crazy and eating more than I should.

The bags I just prepared and the scoops of dough just removed from the freezer.

The bags I just prepared and the scoops of dough just removed from the freezer.

Then I put the little scoops of cookie dough into the large freezer bag and put them back in the freezer.

Then I put the little scoops of cookie dough into the large freezer bag and put them back in the freezer.

In the morning, I just take out two of the frozen cookie dough scoops (one for me & one for my husband) and put them in a sandwich size Ziploc bag in the fridge so they can defrost during the day. When I get home I take the cookies out of the fridge, pre-heat the oven to 375 degrees F & put the little thawed cookie dough scoop on a  greased cookie sheet.

DSC_0876

(Awww! Isn’t it cute just sitting there.) Then I bake the cookies for about 9:30/10 minutes each. This gives me the best of both worlds! I get fresh baked homemade chocolate chip cookies, and I am not tempted by having all the cookies made at once which makes me feel like I need to hurry up and eat them before they go bad or before someone else eats them all. Hope this can help you to enjoy your desserts guilt free too! :)

Mint Chocolate Chip Cookies fresh out of the oven!

Chocolate Covered Peanut Butter Balls

Chocolate Covered Peanut Butter Balls

Chocolate Covered Peanut Butter Balls

These little gems were a Christmas holiday favorite around my house growing up!!! In the picture above, you will notice that they are dipped in chocolate-this was usually not the case back then. It would seem during the “setting” time in the fridge most of them would disappear. Weird. 🙂

Chocolate Covered Peanut Butter Balls:

2 cups crunchy peanut butter

2 cups rice krispies (cheap off-brand are fine)

1 teaspoon vanilla extract

1 lb. powdered sugar (This would be half of a 2 lb bag)

1 stick butter

Melt butter and mix with other ingredients in a large bowl. I don’t use that term lightly! You need a big bowl with lots of space to work! The mixture will be dry and you will wonder how in the world this will ever turn into a peanut butter ball! Well, that’s where the “elbow grease” comes in. You use your little hand to squeeze together the mixture into little balls the size of walnuts and place on a cookie sheet. Don’t give up, I promise it works! (You squeeze it one way, then you turn it in your little hand and squeeze it the other way-and there you have it! A little peanut butter ball!) Once all the mixture is formed into balls, cover the pan with Saran wrap and put in the fridge to set/solidify before dipping in chocolate.

For the chocolate coating, use equal parts semi sweet chocolate chips and chocolate almond bark (the paraffin in the almond bark helps it to set, and the chocolate chips provide a richer chocolate flavor). Melt these together in a bowl in the microwave stirring every 30 seconds until smooth. Set out another cookie sheet pan, covered in wax paper (this helps it to be mobile, so you can move it off your counter as it sets). Drop in a few of the chilled peanut butter balls into the chocolate bowl, and using a fork, ensure the peanut butter balls are completely covered in chocolate. Use the fork to get under the peanut butter ball and lift it up so your fork is level with the top of the bowl. Then hit the stem of your fork against the side of the bowl to tap off the excess chocolate from the peanut butter ball back into the bowl. Then carefully set each on a piece of wax paper-take care to gently scoot out the fork from under the chocolate dipped morsel so as to keep the top perfectly coated and not smudged. You could then top with sprinkles at this point and call it good. In the above picture I melted some white almond bark in a bowl in the microwave, stirring every 30 seconds until smooth, then I poured the melted almond bark in a Ziploc bag and cut a tiny whole in the bottom corner of the bag. I drizzled the white chocolate over the chocolate covered peanut butter balls & sprinkled them with tiny red, white, and green dot sprinkles for the Holidays.

These are so rich and amazing! I love the little decorations which make them look like dainty little truffles. So good! Yields about 45, which means they are about 5 WW points each. Just be forewarned you won’t be able to eat just one-so might want to plan on using a few of those weekly points!

Best Chocolate Chip Cookie Recipe

This is my family’s chocolate chip cookie recipe-these are the Best Chocolate Chip Cookies in the World! (And I don’t think I’m being biased)

Fresh baked Chocolate Chip  Mini M&M Cookie

Fresh baked Chocolate Chip Mini M&M Cookies.

Chocolate Chip Cookies:

2/3 cup shortening

2/3 cup butter

1 cup white sugar

1 cup brown sugar (packed)

2 eggs

2 teaspoons vanilla extract

3 cups flour

1 teaspoon soda

1 teaspoon salt

1-12 oz bag chocolate chips (use only 1 cup if also adding 1 cup M&M’s or walnuts)

*1 cup seasonal colored M&M’s or mini M&M’s (optional)

**1 cup chopped walnuts (optional)

Cream the shortening, butter, and both sugars. Then add the eggs, and vanilla. Add remaining ingredients. Mix in your chocolate chips-I like to use 1 cup (and an extra handful) of chocolate chips and 1 cup M&M’s that are colored for the nearest holiday. Another option I like is to use is 1 cup mini M&M’s with the chocolate chips (the mini M&M’s are really fun because they fit into every little nook and cranny of the cookie!) Drop by teaspoon full onto greased cookie sheets. I like to use my regular Pampered Chef cookie scoop to make the perfect sized cookies and to keep the dough off my fingers, so I am less likely to be tempted to eat some. Bake at 375 degrees F for 10-12 minutes. (Usually a full 9:30 to 10 minutes)

Make your Dessert & Eat it Too!

I love desserts & I love to bake! However, every time I make desserts, I then can tend to overindulge on the yumminess I just made. After eating too many cookies on a Saturday morning, I would be left feeling guilty and lethargic. To prevent this, a really helpful trick I learned on Pinterest is to lay out some wax paper on the counter on top of a small pan or large lid (anything that helps make it more portable). After making the dough, drop by teaspoon full onto the wax paper, then put it in the freezer for a few minutes so the balls of dough set-then put in a large freezer Ziploc bag & store in the freezer. This way you can have homemade fresh-baked chocolate chip cookies whenever you like! I like to put the name of the cookie, the temperature to bake it at (375) and the date. I also write 4 WW points on the bag to remind me, in case I feel like going crazy and eating more than I should. Then, in the morning, I just take out two of the frozen cookie dough balls (one for me & one for my husband) and put them in a sandwich size Ziploc in the fridge so they can defrost during the day. When I get home I take the cookies out of the fridge, pre-heat the oven and bake the cookies for about 10 minutes each. This gives me the best of both worlds! I get fresh baked homemade chocolate chip cookies, and I am not tempted by having all the cookies made at once which makes me feel like I need to hurry up and eat them before they go bad or before someone else eats them all. Hope this can help you to enjoy your desserts guilt free too! 🙂

4 WW Points each

Valentine’s Day Treats for Co-Workers

Good morning! Just wanted to share with you about an amazing Valentine’s Day treat I made for my co-workers last week. I made my favorite chocolate chip cookie dough recipe and then added about a cup of mini M&M’s and a cup of chocolate chips to the batter! Yum! I typically like to use M&M’s that match the season, however, I could not find any plain chocolate Valentine’s M&M’s at Walmart, so I opted for mini M&M’s which fit right into every nook and cranny.

Next I used my Wilton “heart pop” cookie pans to make my  heart shaped cookies on a stick. I sprayed the pan with a little olive oil, then I spooned in some cookie dough (the heart cookie pans I have seem to  be about 2-1/2 to 3 cookies worth of dough that I spooned into each tin). Then I used my fingers to press the dough into the form of the heart mold. I used Wilton 5″ white lollipop sticks and I placed the stick about half the length of the cookie, and placed the stick so it lied flat against the little groove built into the pan. I moved some dough from the center strip of the cookie where the lollipop stick would be buried, and I covered it up with the dough so you could not see the stick any more through the cookie dough. Then I baked them in a 375 degree F oven for about 10 minutes. I watched the edges so they didn’t burn, but it is important to ensure that the cookie is completely cooked so that when it sets it will be able to be supported by the stick, and it won’t break your cookie.

When they finish baking, let them cool in the pan on a wire rack for about 10 minutes then flip the pan over and tap on the back of the pan and the heart cookies should come right out without a hitch. Let the cookies cool, then my favorite part…decorate them!!! 😀

I layed out some wax paper on the counter & melted some chocolate almond bark in a little bowl in the microwave. Remember with chocolate, it is important to stir it about every 30 seconds so it doesn’t burn, as it tends to hold its shape, so its easy to think its not melting, but it is! Then I held each cooled cookie (not by the stick, but by the left half of the heart) and spooned some melted chocolate almond bark on the right side of the heart, spooning the chocolate in a straight line down the center, and using the back of the spoon to spread it out on the right half of the cookie. I set each cookie on the wax paper and sprinkled with the cute little X & O sprinkles. (A little known fact is that you can buy little tubs of sprinkles at the Walmart bakery for a few bucks-so next time you walk by, check out the sprinkles on the cakes to see if you like any! Then, let them know you would like to buy some. )

After I coated one half in chocolate, I decided the cookies were missing a little pizzazz, so I took some pink almond bark melts (those little colored disks that you can buy) and melted some in a little dish in the microwave, stirring every 30 seconds until melted. Then I let it cool a few seconds, and poured the colored melted chocolate into a little Ziploc bag and cut a tiny hole in the corner of the bottom of the bag. Then I drizzled the almond bark over each decorated half of each cookie. Perfect! That is just the extra touch it needed to take it to the next level.

DSC_0641

DSC_0648

DSC_0661

DSC_0657

I let each cookie dry completely, and placed them in Wilton plastic goodie bags and tied with some curling ribbon. (I had some pink left over from our wedding, and the red was from Christmas-perfect combination for Valentine’s Day!) I also had some clear labels at home, and I wanted to make a cute little tag on the cookies since they were my “valentine” to my co-workers. On Pinterest, I remembered pinning some pretty fonts  from DaFont.com. So, I downloaded some of the pretty fonts I liked and created cute little labels to place on the cookie bags.

1604794_597536250333199_404144770_n

1604557_597536270333197_1439765069_n

These brought back memories of our wedding day since we gave out these heart shaped cookies on a stick, with one half dipped in chocolate with pink and lavender almond bark drizzled on that side, as our wedding favors to our guests. They were gorgeous! Big thanks to my family and friends who met at the church to help us make these beautiful favors for our guests.

Wedding Favors! They had a little label on the back that thanked our guests for coming!

Wedding Favors! They had a little label on the back that thanked our guests for coming!